This is a my definitive "how to make a nut" article, and I will continue to edit it as I make more nuts, improve my technique and take more photos. Let's get started!
What you need
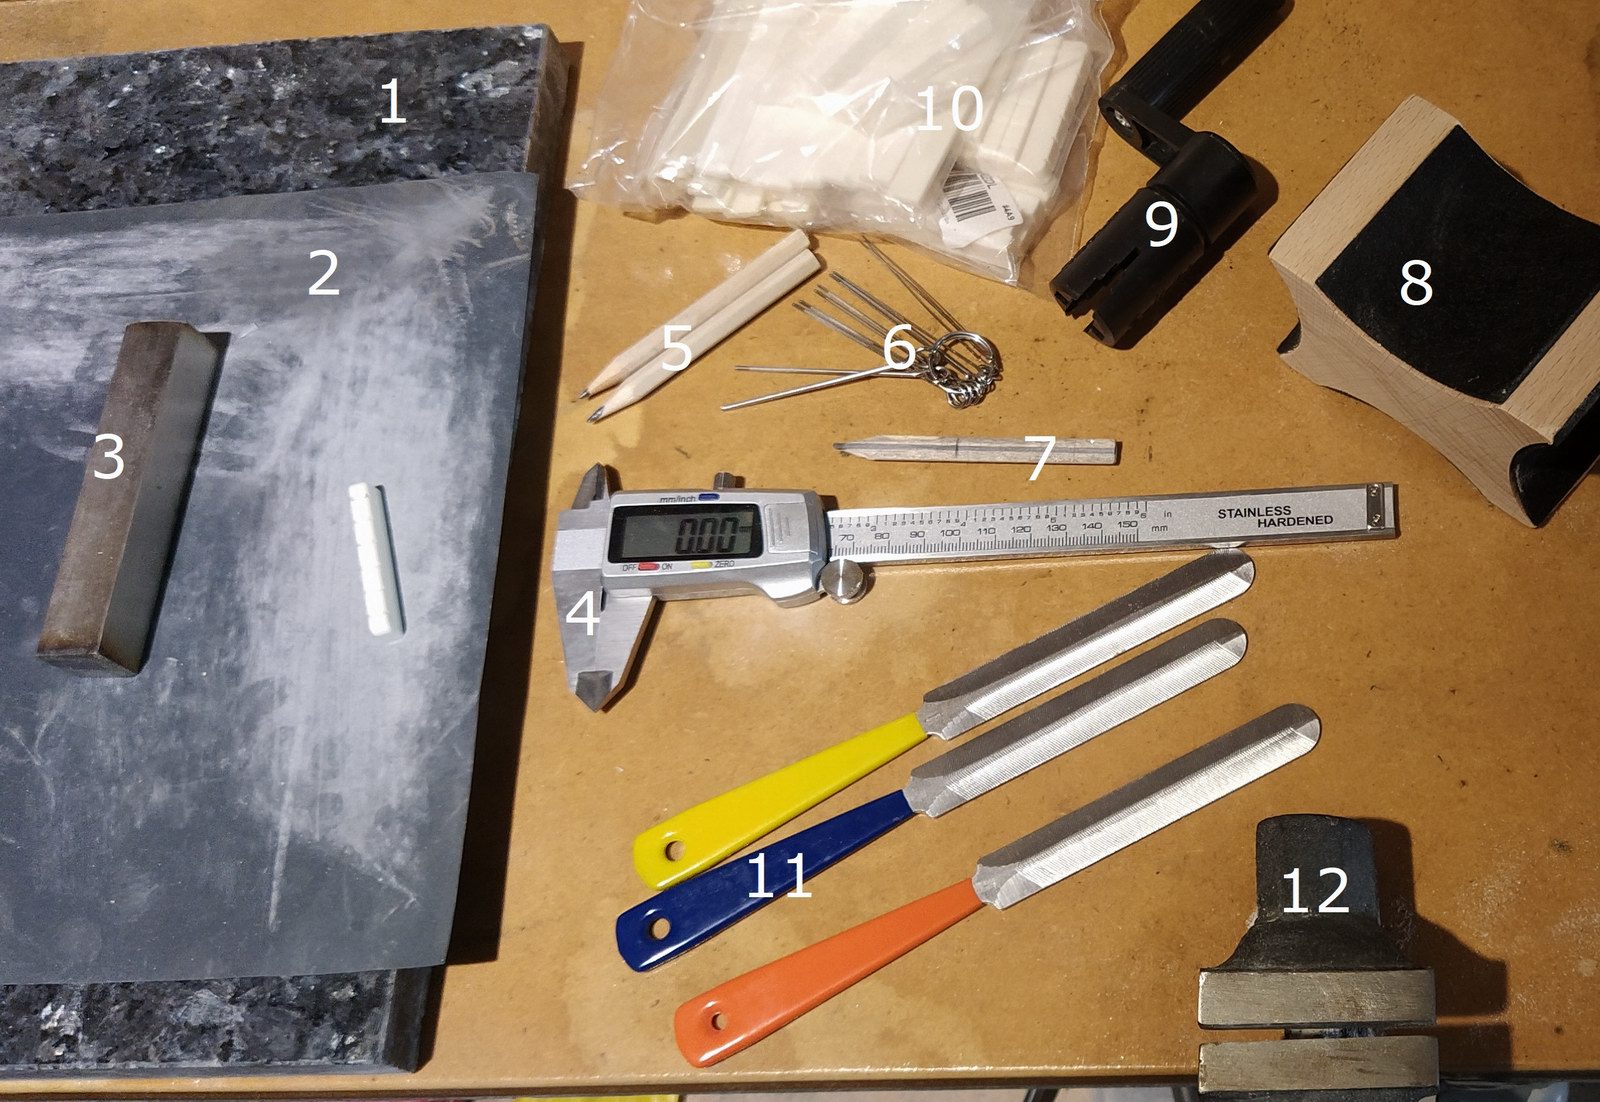
1. A flat surface to sand flat surfaces. I have an offcut of polished granite - a piece of glass would do, but anything really flat.
2. Sandpaper, used flat for grinding on your flat surface, but also for rounding off. Have several grades, 150 grit will remove bulk material fast, then work through 240/400/800/1200 to polish if you like that sort of thing!
3. A right angled piece of something, mine here is a lump of steel. If you run your nut/saddle along it to file the narrow end, you stand a better chance of keeping it at 90 degrees.
4. A caliper with a digital display. The cheap ones on Aliexpress around $15 are good for +/-0.02mm which is way better than my eyes, so that will be fine.
5. Some nice sharp pencils.
6. These are actually welding jet nozzle cleaners, but can double for rounded nut slot files. *Update*: An even better solution is to buy a cheap feeler gauge set, measure the string width for the slot, and rough up the edge of the corresponding feel gauge.
7. A pencil cut in half longways...use your sandpaper and flat surface to achieve. Used for a specific marking technique.
8. Guitar neck support. Another cheap item on Aliexpress.
9. Guitar winder. Optional, but handy to speed the process along.
10. Nut (and saddle) blanks. I like bleached or unbleached bone, measure all your guitars with your caliper and order bags of them from Aliexpress in dimensions the same as or slighter bigger.
11. Cheap nut slot files, this set is about $15. Used for the initial shaping. They make fast work of the bone but use the round files for the finishing touches.
12. A basic vise to hold the bone in while you shape it.
Process
1. Remove the old nut, you might need to have a swift blow from a hammer with a well placed chisel. Don't damage anything, but be prepared to be brutal.
2. Clean out the slot, use whatever you have, box knife, files, get it nice and flat/smooth.
3. File down the length of your blank so fits into your nut slot.
4. Cut the width of your blank so it is the same width as the neck. It should feel nice to the touch - no "edges" that you will run your left hand over.
5. Mark the blank so you will put it in the same way every time.
6. With the blank in place, put your "half pencil" across at least the first two frets and mark the nut. What you now have is a hard limit line - you won't file the slots below that.
7. Shape the top of the nut using your pencil line as a guide, you want to leave enough bone above the line so that when you cut your slot the string will sit around half to three quarters of the way into the slot. So you will leave less on the high strings, and more on the low strings. Shape the top angling backwards at about the same angle the headstock angles away from the neck.
8. Decide on the edge distances for your strings slots. I like my high E around 3.5mm from the edge and my low E around 3.0mm. But use your caliper (the depth measuring "spike" on the back end) to measure a guitar you really like the feel of and go with that. Note that the distance is to the edge of the string, not the centreline of the string.
9. Do you string spacing calc. I like this calculator. Find the specifications for your favourite strings - the width of each string is generally given in "thou" ie thousandth of an inch. Feed in the nut width, the two distances to the edges that you like and the string specifications. It will spit out a list of numbers that represent the centrelines of your required slots.
10. With your sharp pencil and caliper, make a mark on your nut for each of the string spacing measurements.
11. Use your thinnest slot file and make an initial cut at each marking.
12. Continue to file out each slot, use the slot file that is closest in width to the string going into the slot. Head down to near the pencil line but don't go all the way to it. Angle the slot towards the back at the headstock angle like you did when you shaped the top.
13. Use your round files to get a nice round slot shape. Measure the string that is going into the slot, choose a round file that is the same or slightly bigger than the string.
14. Put the nut in and string up the guitar, have the strings tight but you don't need to go to full tension.
15. Put your finger at on the third fret, and with your other hand, lightly touch the string over the first fret. The depth of the slot is about right when you get a slight "plink" as you tap the string. For nylon, which doesn't really "plink", just look for some deflection.
16. Tune up. Play the open string with the tuning perfect. Now play at the first fret - fret super close to the the fret and don't push too hard - you will always be able to "bend" the string by pushing hard increasing the pitch. What you want is the intonation to be pretty good at the first fret. Do a comparison at the 12th fret - how sharp or flat is that? If the intonation is bad at the 12 fret and it not adjustable then take that into account.
17. Push the string off to one side and continue to file with the round files at the same angle as the headstock angle. We are aiming for the string to be seated perfectly in the slot the whole length of the slot.
18. For the G and D strings, if they are breaking out of the back of the slot at a sharp angle, file a bit of relief to the outer edges.
19. Keep going until you are satisfied! But don't push the depth...if you go too far when you pluck the string at full volume you will hear buzz as it rattles on the frets. You only really want the action to be low at the nut so that the intonation is correct.
20. Take the nut out and give it a final polish. Round off all the harsh edges, work through sandpaper grits and even use a bit of car/metal polish to finish it off for a mirror finish. Put it back in and enjoy!
Here are some inspirational photos:
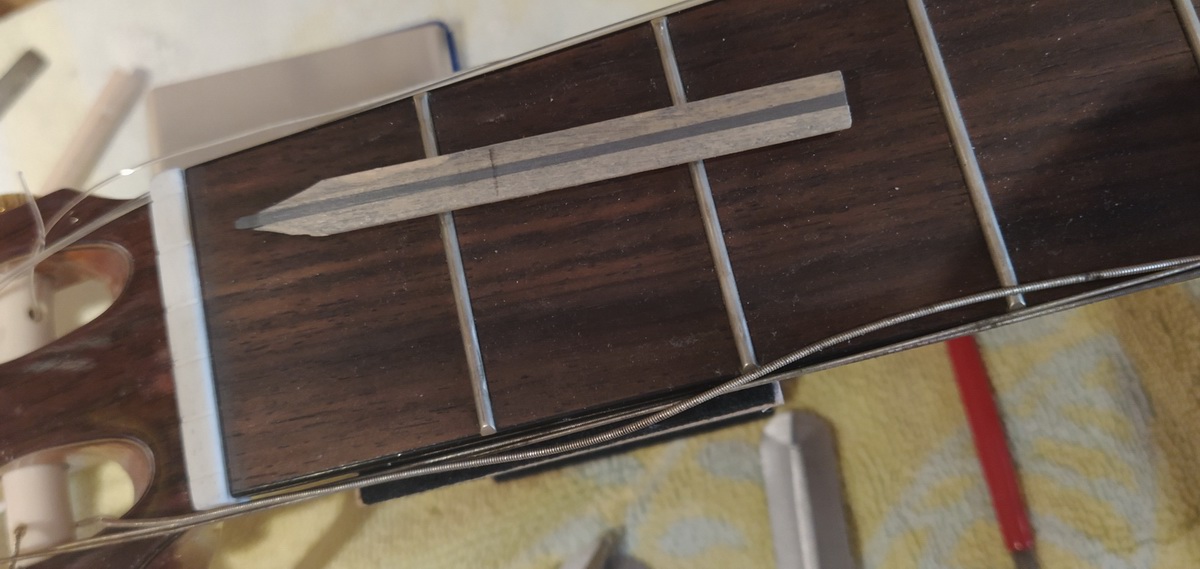 Step 6 - the half pencil for marking |
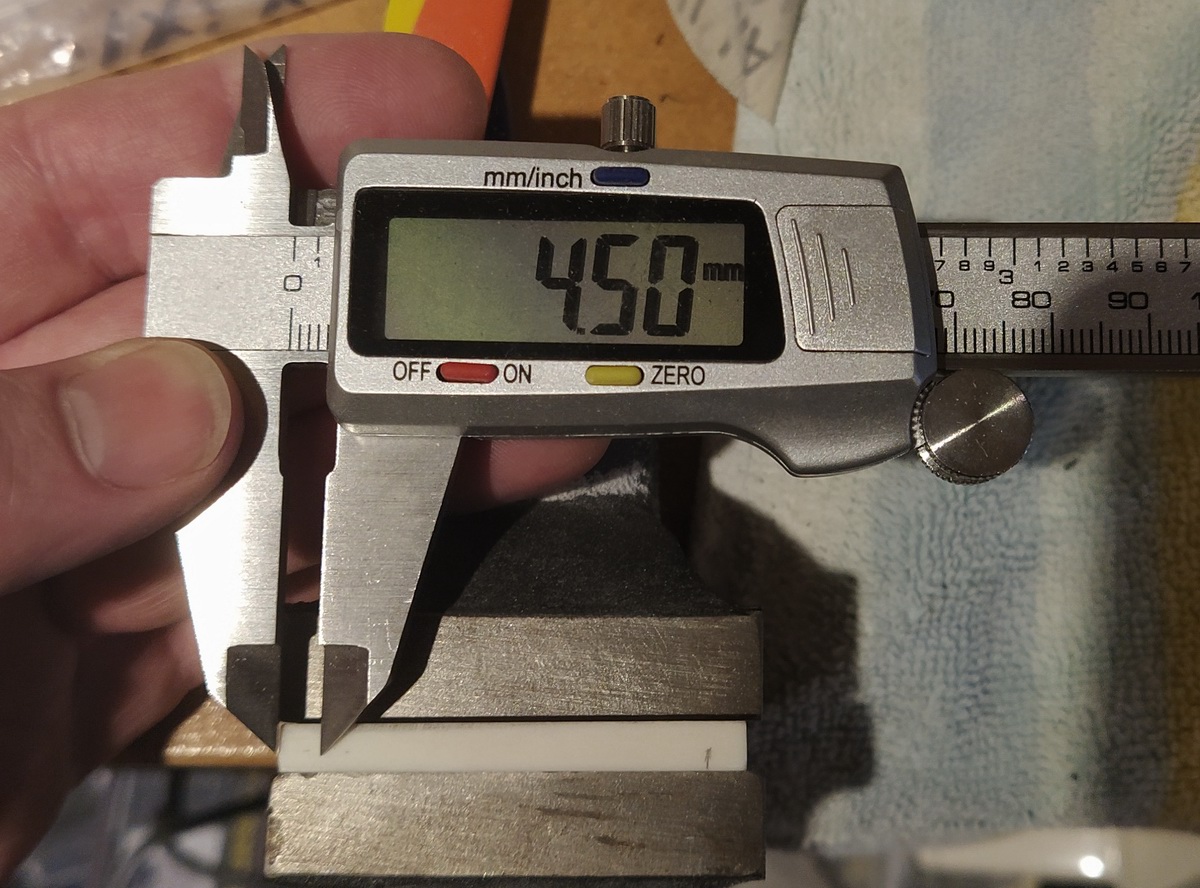 Step 10 - Measure off and mark the string spacing |
 Step 18 - Give G and D some breakout relief |
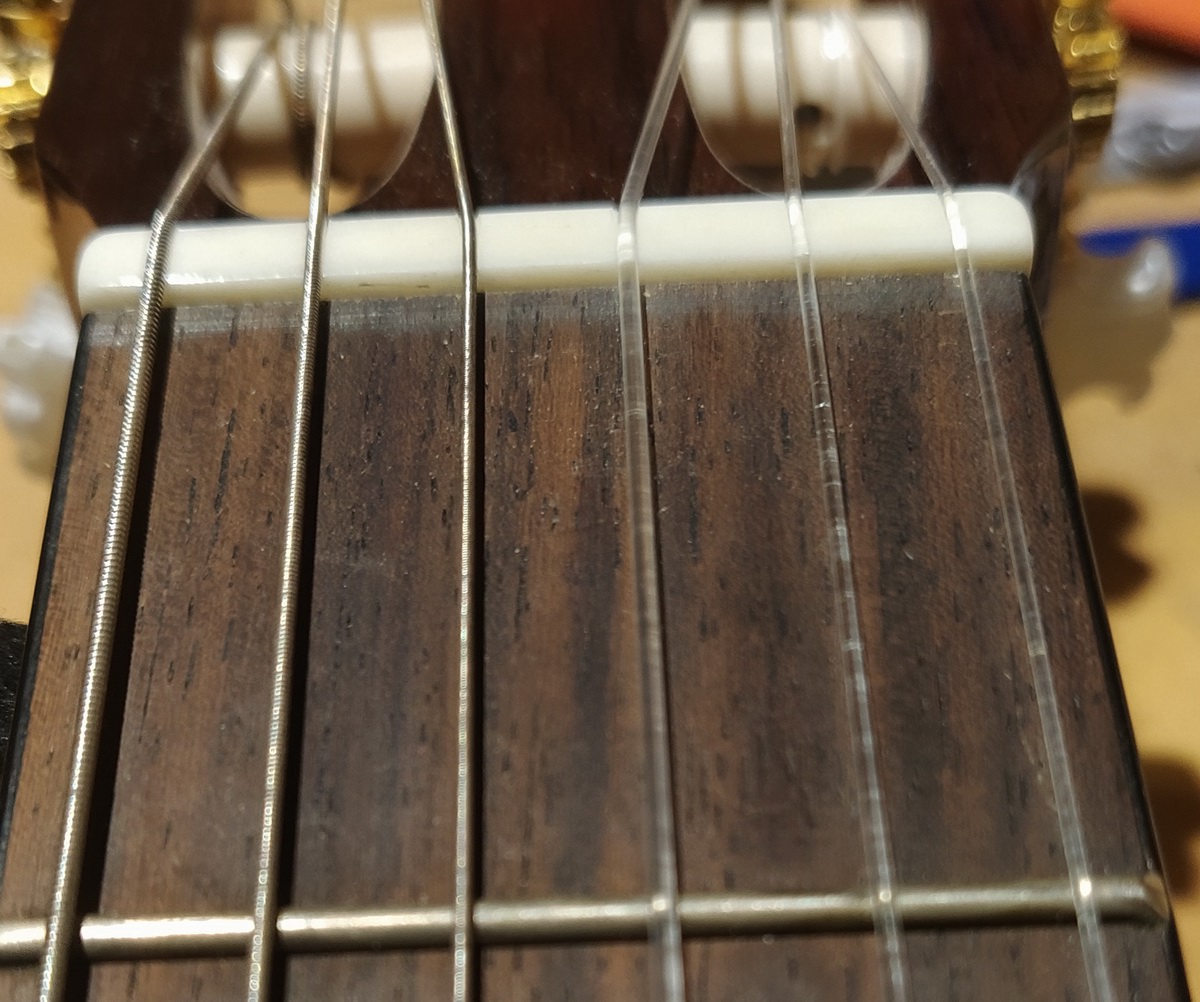 Step 20 - Not terrible :-) |
No comments:
Post a Comment