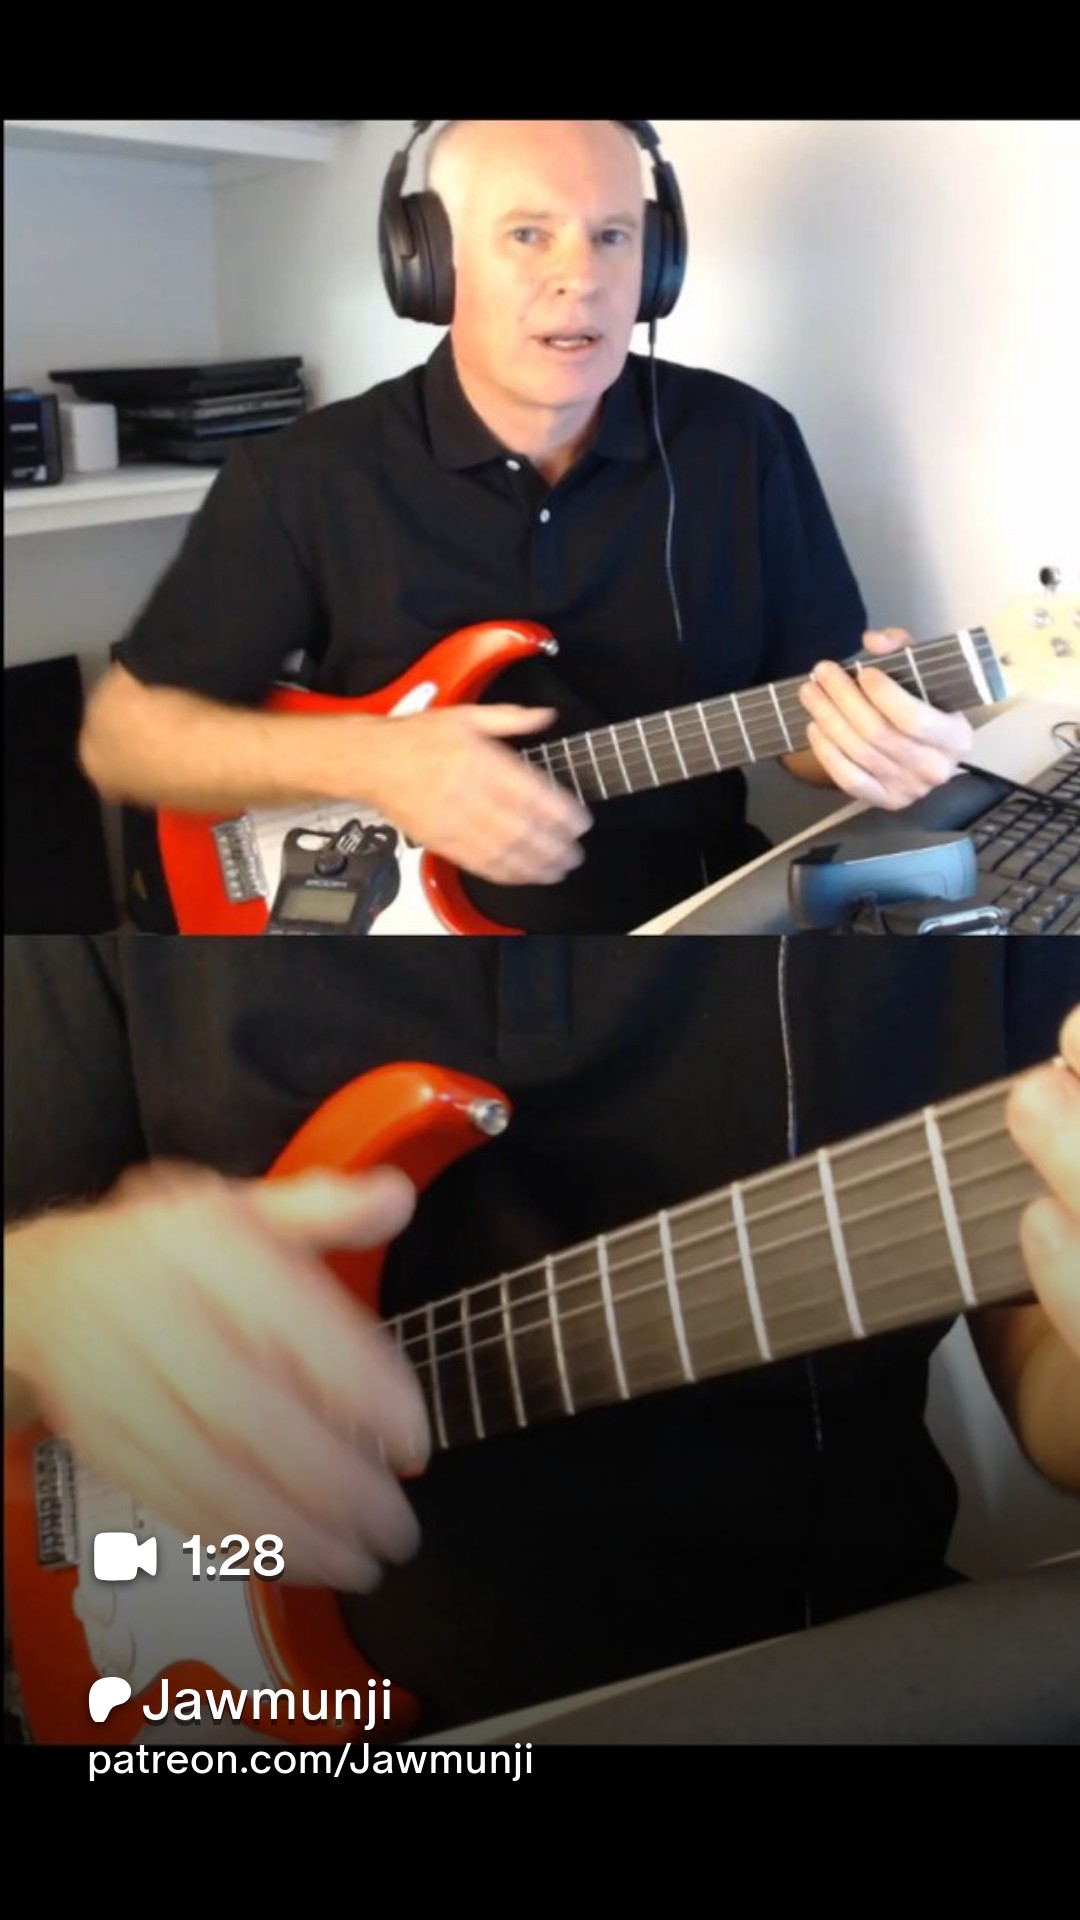
Just sitting in a holding pattern. I think that is fine, you don't need to be go-go-go your whole life. I still regulalry mix songs - there is plenty to be learnt there. I pick up the guitar which is hanging right behind me and play it whenever I'm here. I still play "Shine On You Crazy Diamond" a lot, I find it quite relaxing. I play it weekly in the lunchroom at work and I usually follow with "Wish You Were Here" which then segues into "Breathe". I think I need to go and play them at an open mic, I haven't done an open mic in years. I need to share my love of Pink Floyd music. And maybe give them a short list of 20-30 songs "you choose what you want me to play next". I quite like that idea - keep a heap of songs fresh in my memory and play requests. I need to play a song through once every few months to keep it fresh in my head.
Except "Canon in D". I've dusted it off, practising it to record again for the 20th year anniversary of posting it on YouTube. I've changed a few parts to both improve the arrangement and the playability. I thought if I put in enough effort I would finally be able to memorise it and play it well. I was wrong. It is the one song that I have been unable to memorise, and as I push harder into it I start disliking it. I have been through this cycle several times in the last 20 years, including the first time I learnt it. (That's why the first recording of me playing it is from sheet.) I have resolved once again that I can only play it from sheet. If I push any further, I will stop playing it. It's like some sort of nemesis. That's okay, I will play it from sheet, put up the 20th anniversary play through, and maybe in another decade Canon and I will be on better terms.
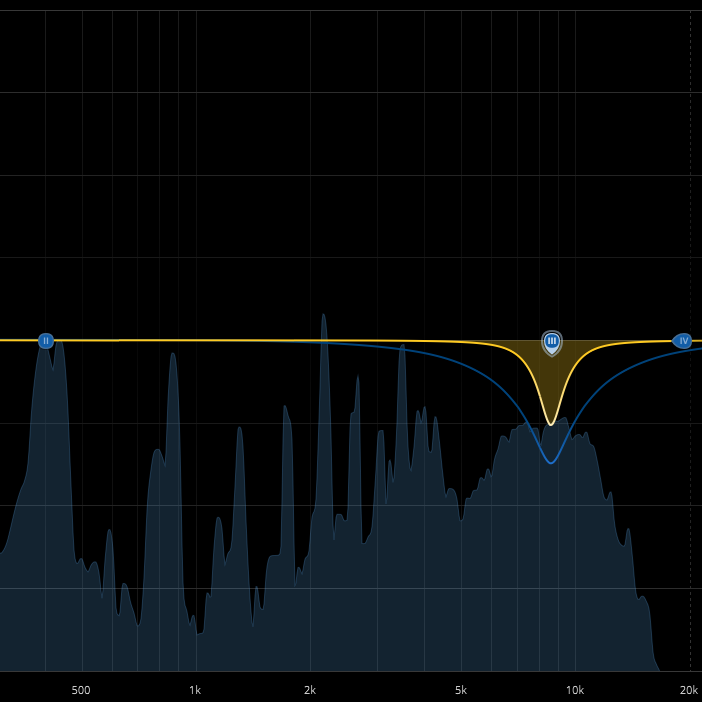
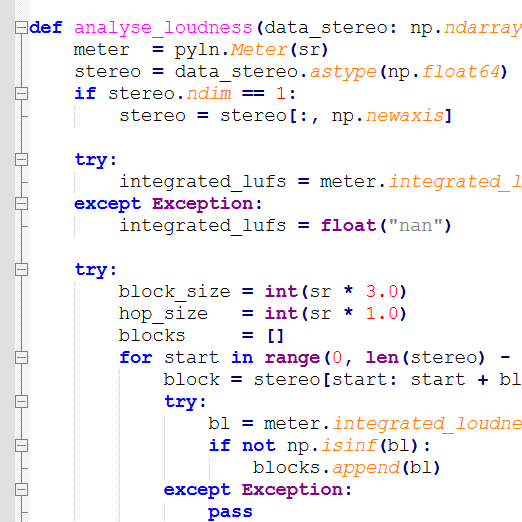
AI coding - just when you thought it was amazing something changes and it's even more amazing. We are now at a stage where you can take your favourite software, ask Claude (running in the fable model) to rebuild it from scratch but fix up all those little things that you don't like about it. And it will give you a working application straight off the bat. I don't know what this means for software - will it all be bespoke going forward? The code itself is completely unmaintainable of course, I gave up understanding what is happening in there a while back. I'm glad I grew up when you had to write code yourself, because I understand how to write code myself, but now I kinda don't have to anymore. I will become dumber, I'm sure, but the amount of work I can produce that "gets things done" has gone through the roof. As with most things AI, I'm still not sure how I feel about it. But the genie is out of the bottle. I watch it, interact with it, let's see what happens.