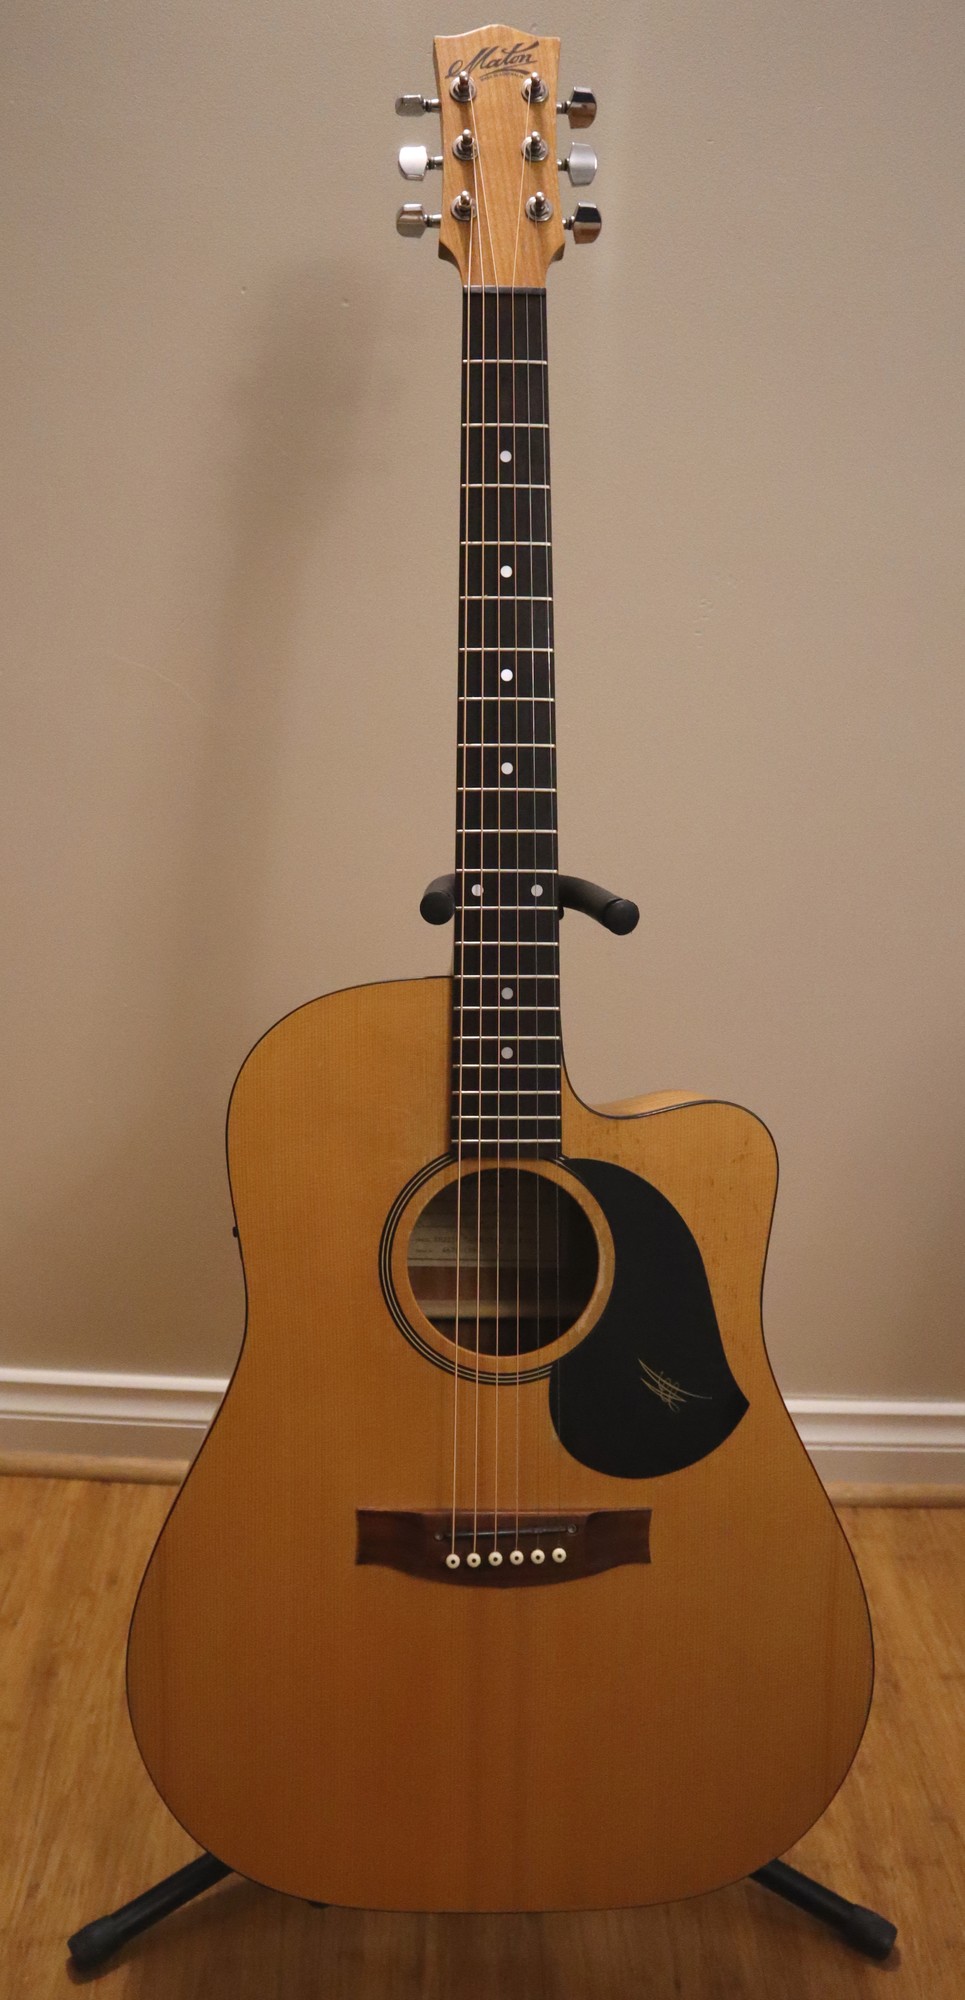
I don't talk about this guitar much, I have a love/hate relationship with it. Which is a shame, because I've been through a lot with it.
I bought it new in 1997, a Maton EM225C, I'd never owned a steel string acoustic before. I can't even remember why I bought it, I think it was a case of "working near a music shop, play some guitars at lunchtime from time to time, fell in love with one." It's the guitar I used for my highest viewed songs on Youtube with millions of views between them. It's the guitar I had when I discovered Tommy Emmanuel, which permanently changed the course of my guitar life. It's the guitar that I hung on the wall for 10 years when I realised that I prefer pretty much everything about nylon string guitars. But it is also the guitar I play regularly, with a plectrum, in the band at my local church, because that's the sound they need.
Since it was the only guitar I played for 10 years, it had suffered a lot of fret wear and was getting buzzy on certain strings in certain frets. The good fellas down at Profret gave it a grind and a recrown which helped the playability. It had a lot of grooves in the usual places, now it doesn't.
I noticed however several weeks that when I was digging in hard with a pick an awful buzz had returned. Oh no! Where did that come from!? After a moment of thought I realised that I had put on a new set strings that were a slightly lighter gauge.
Acoustic guitars have a truss rod, which is fighting with the string tension to set the neck relief. If you go from heavier strings to lighter, the strings are pulling less, so the truss rod will now pull the neck further back - giving a lower action - but also potentially creating fret buzz, especially when you dig in, due to this reduction in neck relief.
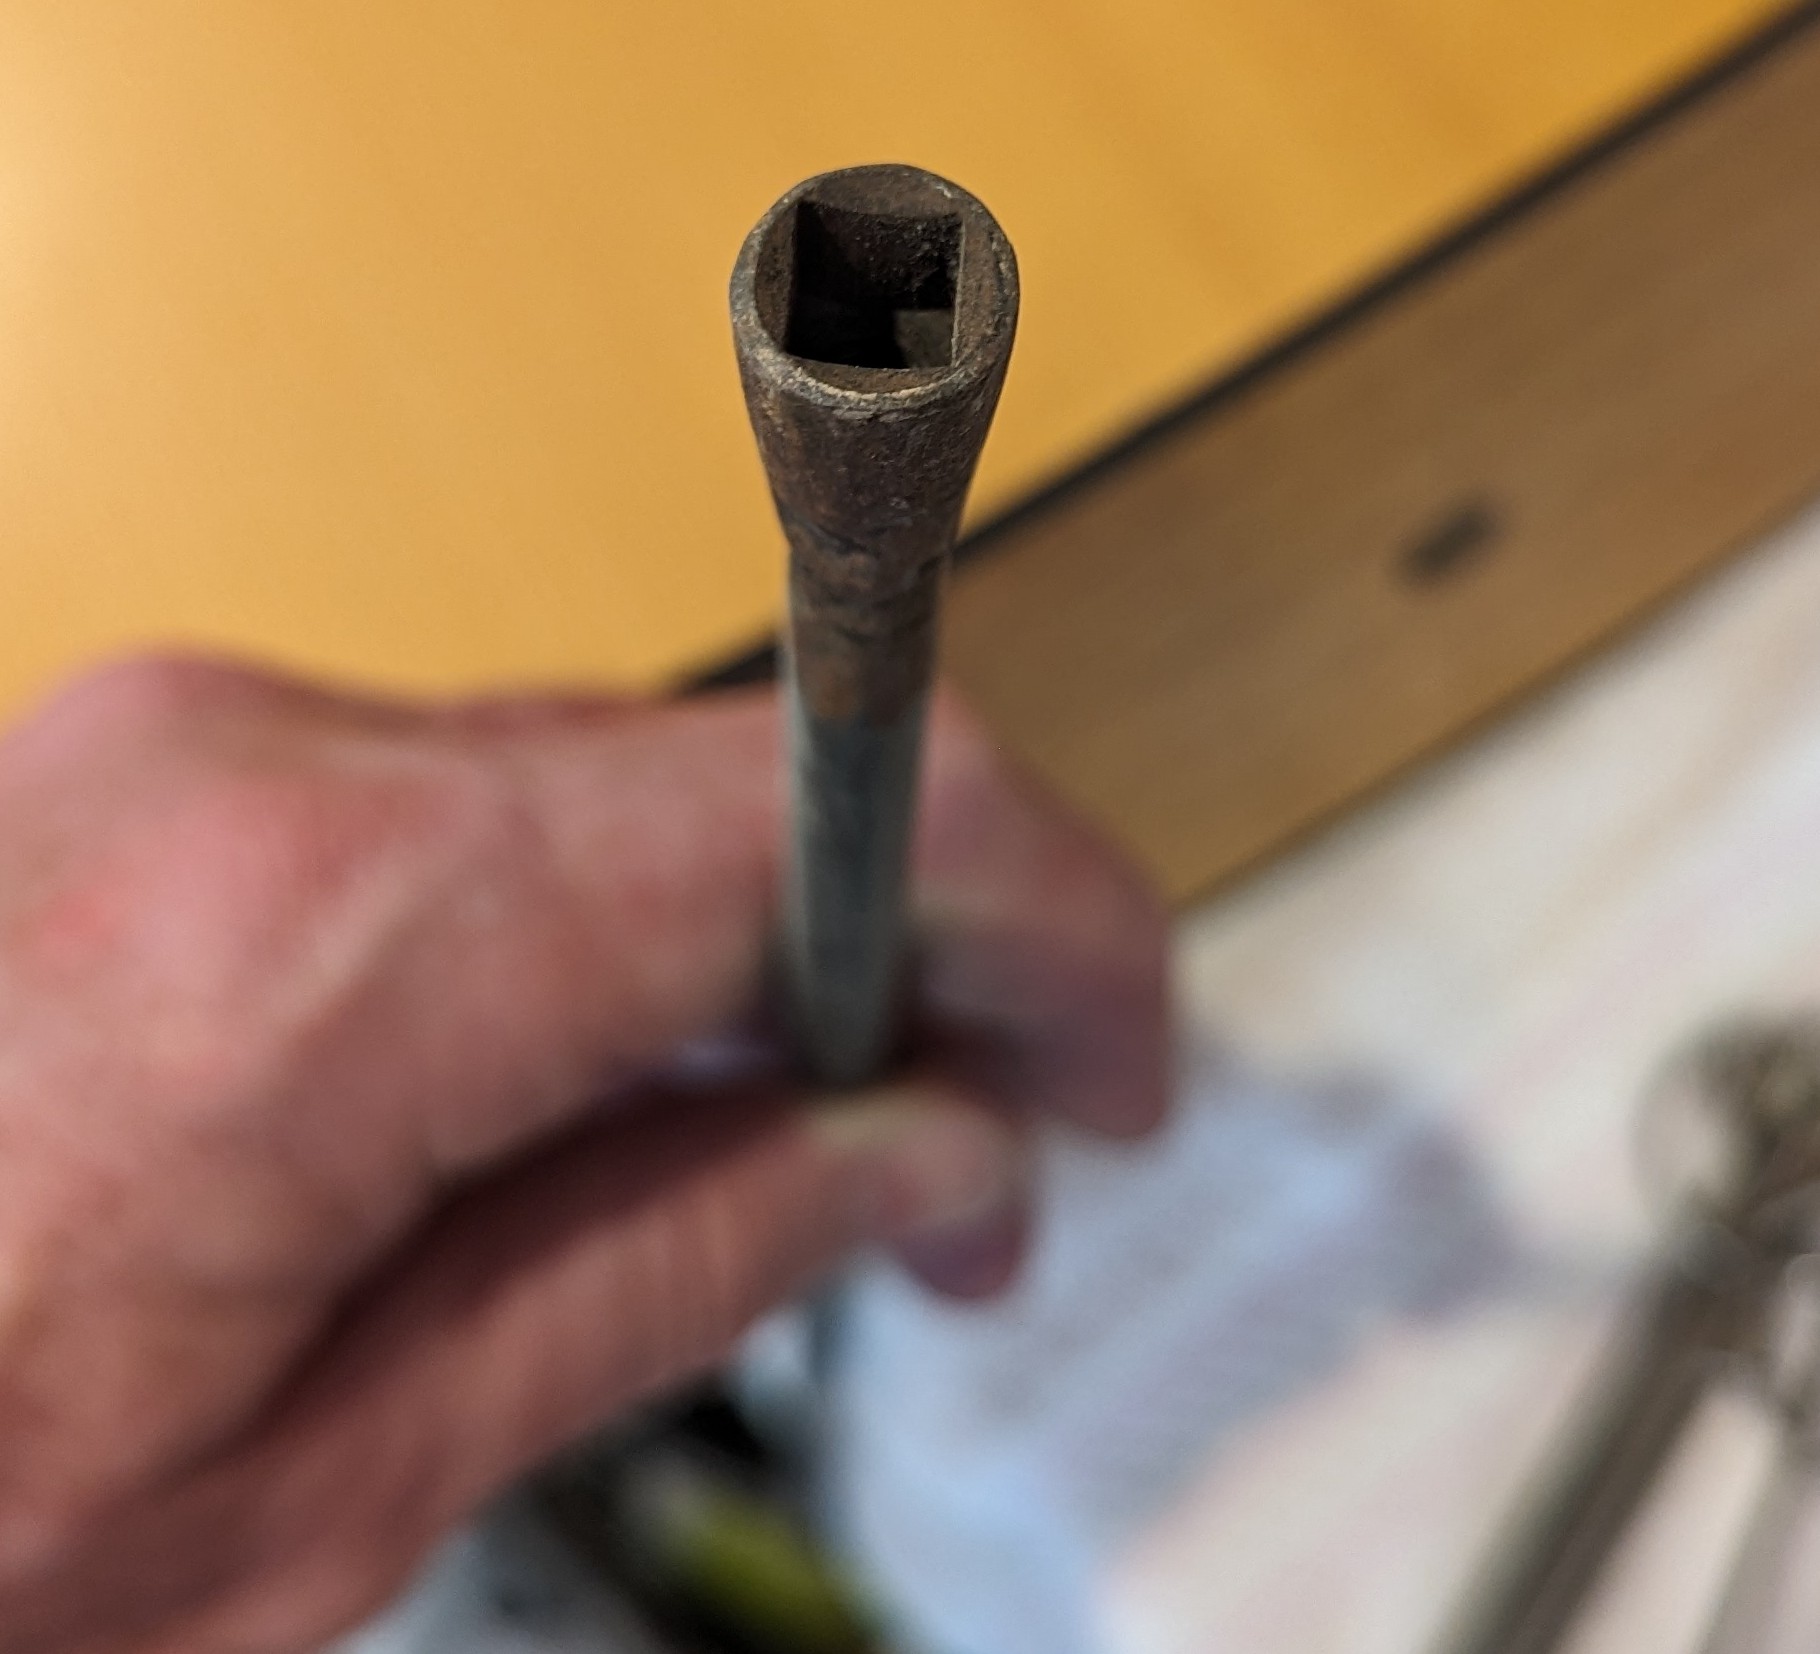
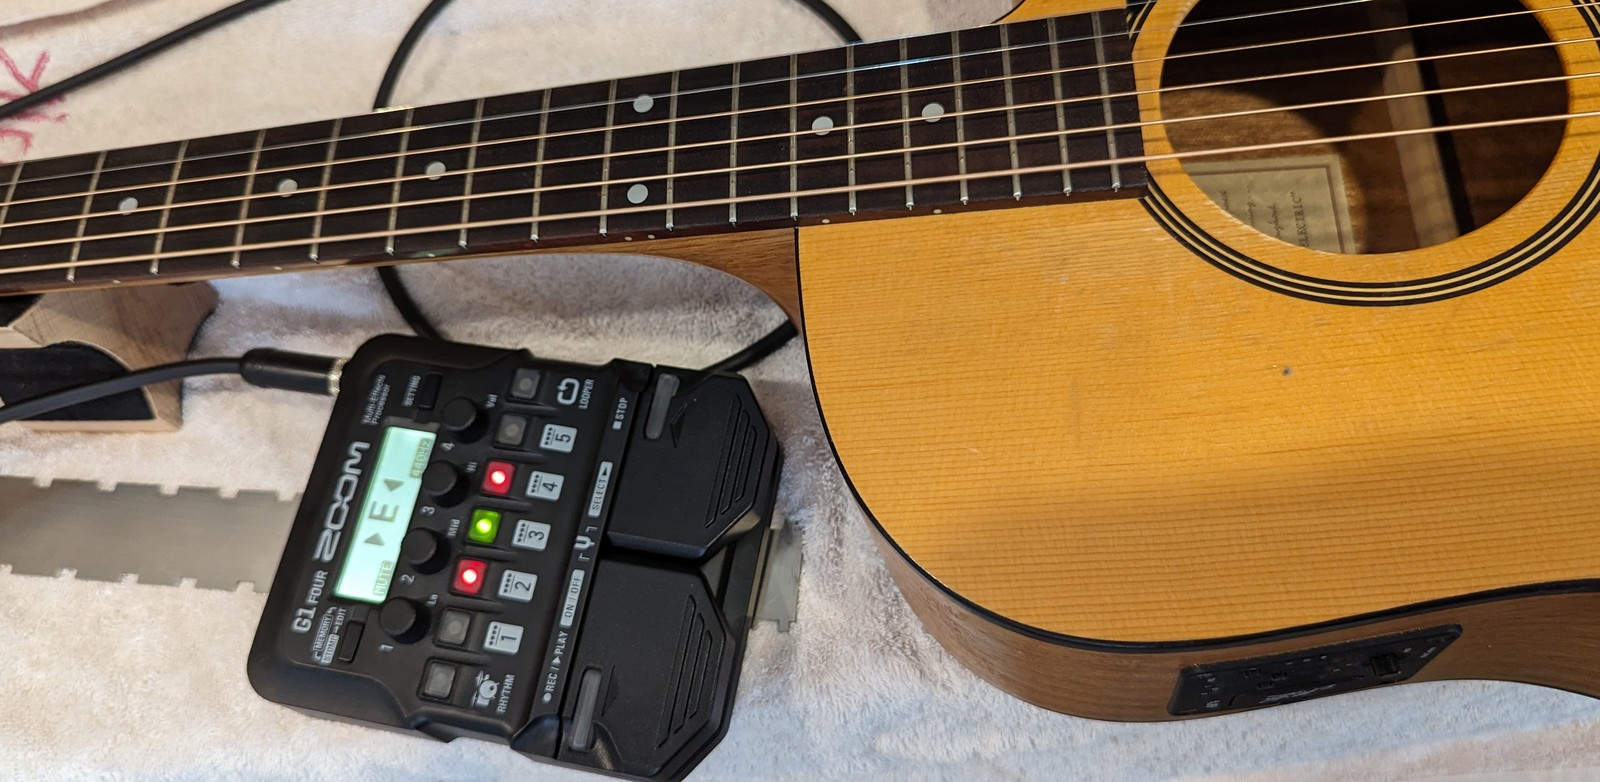
All good - years ago I worked out that the truss rod nut in a Maton is actually a 1/4" square head, so I made an adjustment tool which had an old 1/4" drive socket welded back-to-front on a length of steel rod, and a T handle for twisting. You whip the 7/16th hex head end pin, stick the tool in there and twist. Lefty Loosey Righty Tighty, leave the strings on, retune between adjustments.

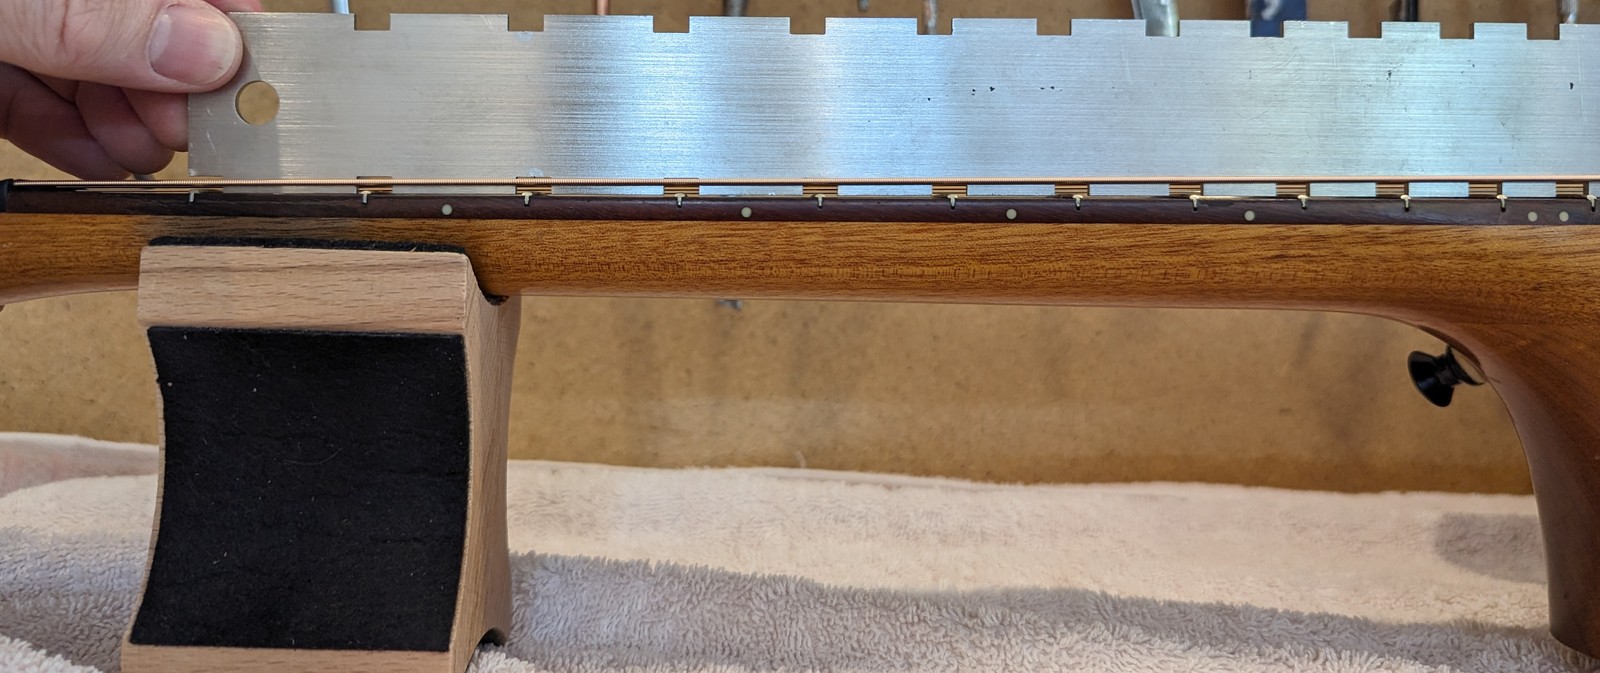
This tool is handy for getting afeel of what your fretboard is doing. If you look closely you can see the neck relief (the bow of the neck) starting from up at the nut. That's what you want, juuust enough neck relief that there isn't any buzz when you are digging in as hard as you ever go.
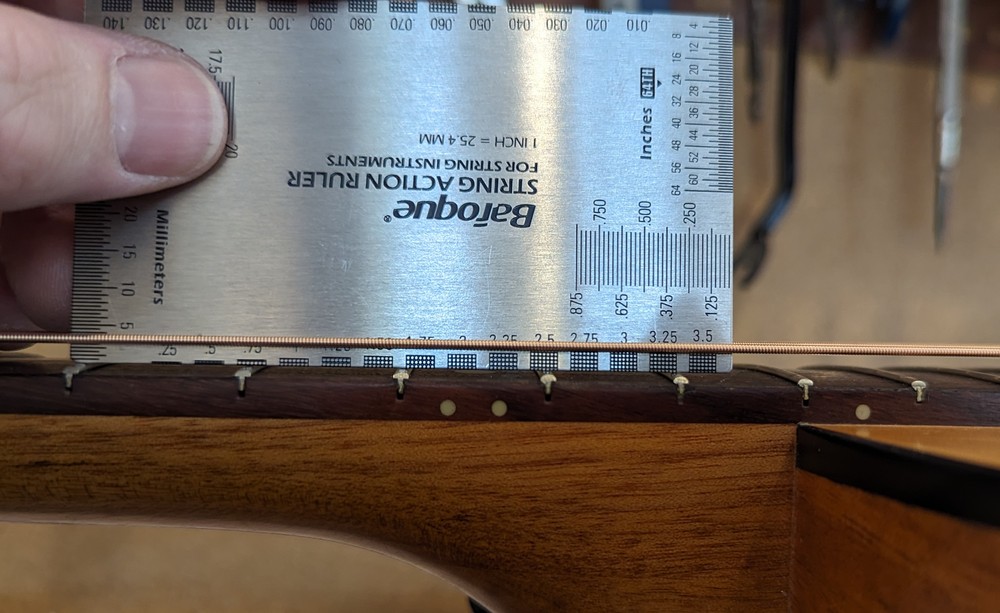
This multipurpose guitar measuring tool also came in super handy for checking measurements, accurate to 1/4mm. I adjusted out a half, strummed heavily, still heard a little bit of buzz. Kept adjusting and tuning until it seemed better. I can be very heavy handed with a pick, so I need the action to be quite high.
Where does the buzz come from? The string ever-so-slightly rattling on the fretwire one fret up. So imagine you've fretted a note, so the string is pressed up against the fret you are at, there is a small gap between the next fret up and the string. As you pluck, espcially when you are heavy handed, at that initial attack on the string it will just slightly contact the fret up for a short period of time, which gives that buzz.
This can also happen from the other end, with the nut. That is only when you are playing an open note though, if the nut is so worn down you are getting the same issue but on the first fret. I had this problem on my Esteve a while back
Make sure have your tuner handy. Adjust the truss nut at string tension, small amounts at a time, retune between adjustments.
I played the next gig, but I was still hearing a little bit of buzz remaining. But the truss rod was already backed out to the point that removing more tension was not doing anything! What that means is the strings aren't heavy enough to pull the neck out for enough relief, even with the truss rod offering no resistance. If that happens, the next attempt at a cure is saddle adjustment.
If you can put some more meat back onto your saddle, then the string is up a bit higher from way down at the bridge, so there is a bit more action, the buzz may go away. It's just amazing, we are talking tenths of a millimetre between the string and the fret for the difference between clean sounds and buzz. And it might only buzz on particular strings at particular frets.
There are two ways to add meat to your saddle; super glue + bicarb soda to build the level up is my favourite, or reach into your bag of bone blanks and carve another one. I've done both in the past, this time I went with make a new bone saddle, the original black plastic one had served its purpose.
Since the existing saddle is pretty close in dimensions, I traced the outline of it onto a new saddle blank with a bit extra and ground it out with my die grinder. It's pretty quick to rough it out, then smooth off the corners with sandpaper, working through the grades. Yep, I do finish on 1200 grit and then polish with a bit of metal polish or whatever you have. Bone does polish to a mirror finish, it's quite amazing.
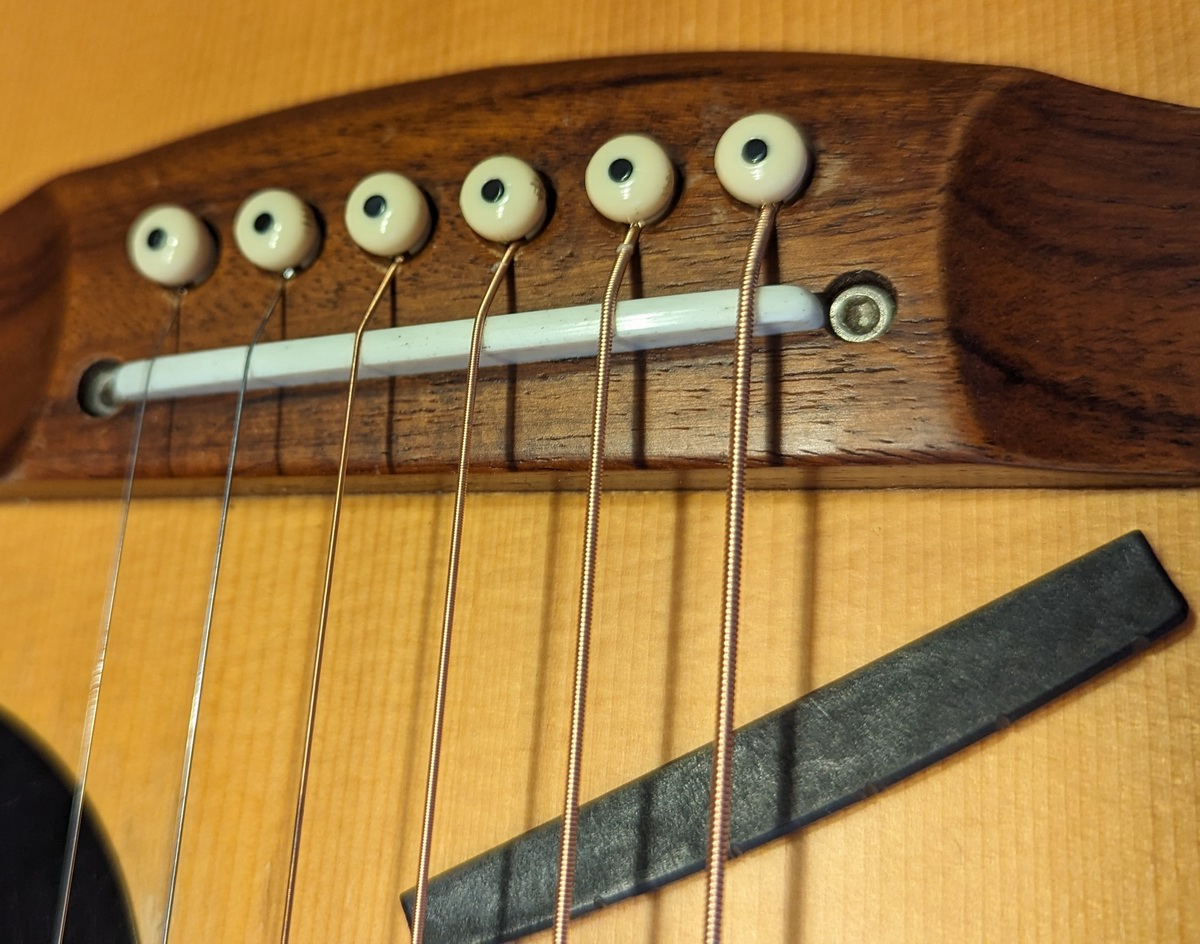
I popped it back in and loosely restrung it. I then marked where the strings were, and filed some little grooves in the back. So the strings won't move from side to side when I wildly strum. I got out my caliper to make sure the distances between the stings were fairly constant. Looking at my old saddle, there were some deep grooves in there, I guess 10+ years of hard playing will wear down a saddle just enough that a change of string tension will introduce buzz.
Retuning and strumming hard, I couldn't get any buzz. Yah! Which meant I could wind some tension back on to the truss rod. I watched carefully with my string action gauge at the 12th fret as I put tension back on. When I got down to around 3.25mm I could hear the buzz coming back. At 3.75mm it was pretty clean, so I left it at that. Around 1.5 hours from getting started to finishing, so it's not a super lengthy job to whip up a new saddle.
At my next gig I didn't hear any buzz! Yay, problem solved! Good luck out there!
JAW
No comments:
Post a Comment