Some of us guitar players like a bit of fingernail. on our right hands. Especially when plucking nylon strings, it brings out the higher frequencies. Nylon can be mellow and dull on just fleshy fingertips. As much as you try not to break fingernails - doing things left handed, avoiding some activities which are known fingernail crackers - it still happens, generally at the worst possible timing. I've written about nail repair before but now I've got some science to improve the process! And pictures!
Superglue is still at the heart of it, but if you mix superglue with sodium bicarbonate - easily sourced while grocery shopping if you don't already have some - you get a really tough substance. I was using it while repairing guitar nuts. Last time I was applying superglue and waiting, now I add superglue and sodium bicarbonate makes an even tougher thicker layer that sets hard in seconds.
The science is that when you mix superglue (ethyl cyanoacrylate) with a weak base such as sodium bicarbonate firstly it hardens extremely quickly and secondly forms long polymer bonds. That's good, it's tough!
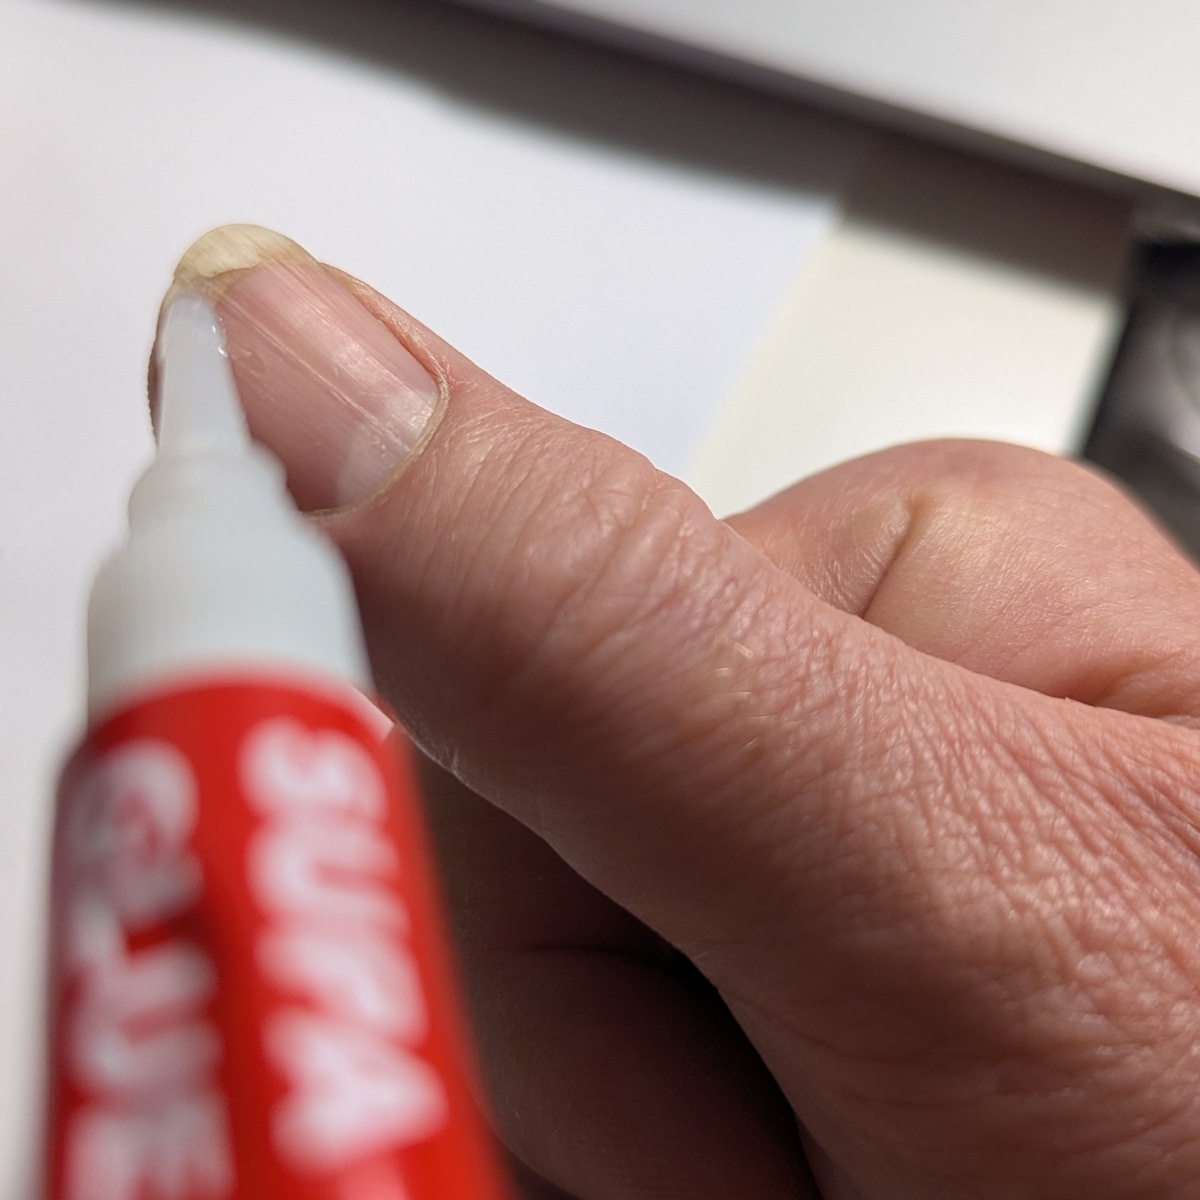
My process is to firstly have a stash of superglue tubes at the ready. Once opened it will eventually go off even when capped, and since you can get tubes for under 50c each in bulk, just have a stash at the ready. Step 1 is to put a drop or two across the affected area, let it flow out...basically just go for the tip of the nail over where you have cracked/torn it. If it is too challenging to get any into the tear (use toothpicks to poke around) don't stress it. What can be annoying is if you get a bit of glue on the underside of your nail and it sticks your skin to the nail... If that happens you can reset and start again - Acetone dissolves superglue.
Step 2 is to sprinkle sodium bicarbonate over the glue. Just add more than you need, once it sets you dust off the rest. Be cautious, it gets hot as it reacts. Don't do too much at once.
Step 3 is to then add another drop or two to float over the rough surface of bicarb. This will build a good thickness layer. Let it set, will only take a moment.
Step 4 is to do a bit of filing - just smooth it off, don't touch your actual nail. If you are a picker/fiddler, you will find having a lump of cement on the tip of your fingernail frustrating. Relax, let it go.
It will be good for a week before it will start to crack and peel away from your nail. Redo it again if you need. This time around I redid it a second time as I needed to play two gigs separated by a fortnight. After that, it will either have cracked off or just remove it with acetone.
Happy days!
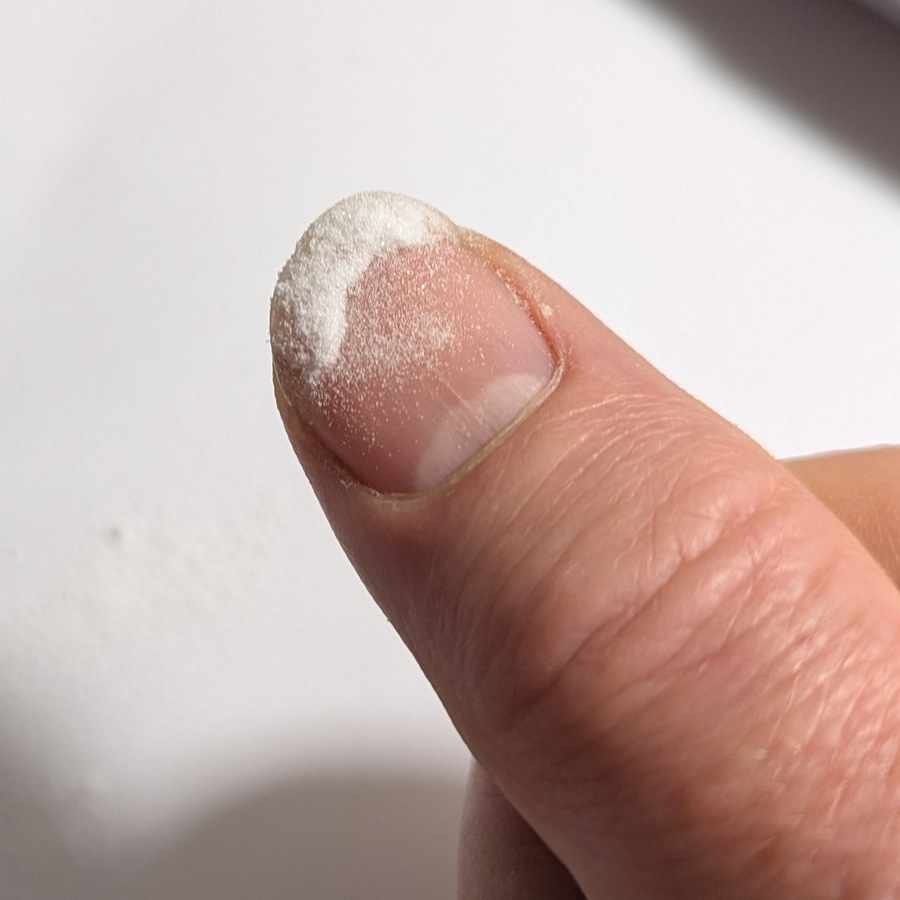 Glued and powdered Glued and powdered |
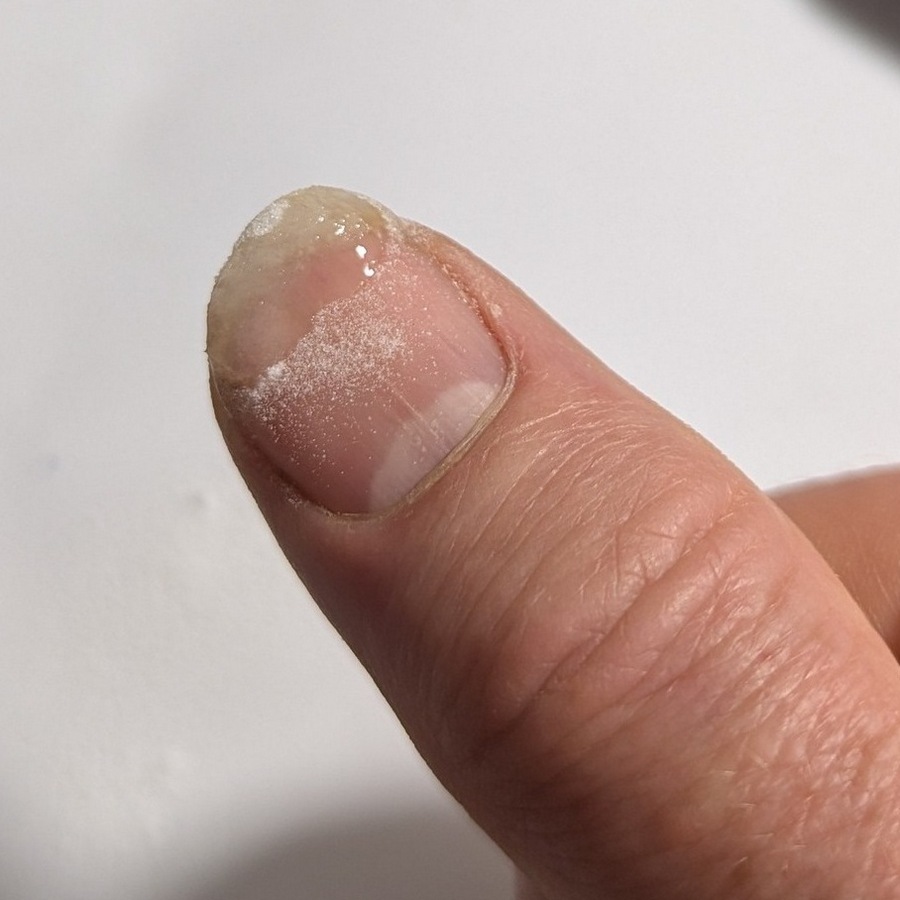 Second glue coat ready for light shaping Second glue coat ready for light shaping |